How to clean and maintain your carpet cleaner
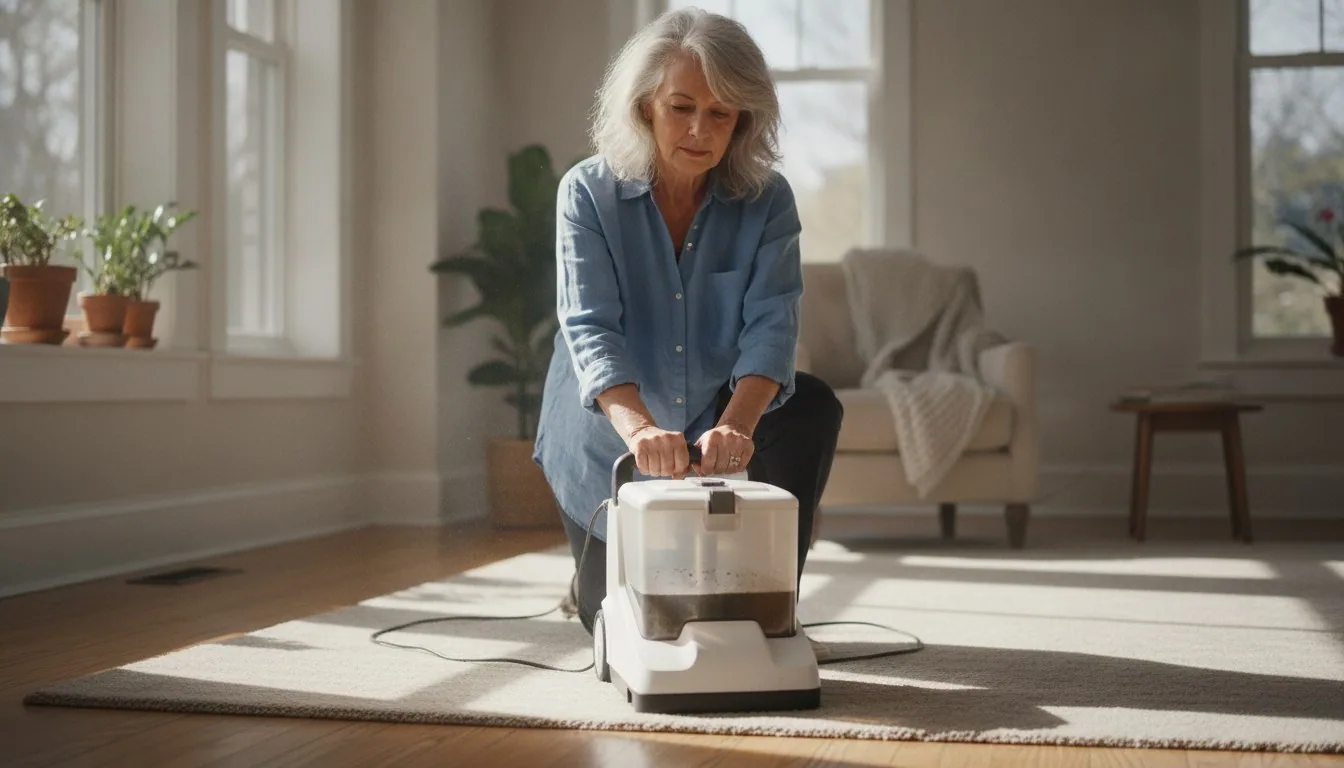
- Rinsing both tanks and flushing the hose after every use is what actually prevents the musty smell most owners blame on a broken machine.
- The EPA's mold guidance puts the safe drying window at 24 to 48 hours; a tank sealed up wet for longer than that is already in mold-friendly territory.
- CDC guidance for cleaning mold off hard surfaces calls for no more than 1 cup of bleach per gallon of water, ventilated and never mixed with other cleaners.
- The Carpet and Rug Institute recommends a professional carpet deep clean every 12 to 18 months, a schedule that assumes the machine itself has been rinsed out between uses.
- A brush roll wrapped in hair and a nozzle with dried solution in the holes are two of the most common, easiest-to-miss reasons a carpet cleaner starts performing worse.
Unplug the unit before any cleaning or filter work.
Unplug the machine and empty both tanks
Switch off and unplug the carpet cleaner before you touch either tank. Pull the dirty water tank free first and pour out whatever's left in it, then do the same with the clean-solution tank so nothing sits in either one while you clean the rest of the machine.
Rinse the dirty water tank until it runs clear
Fill the tank with hot tap water, swirl it around, and pour it out. Repeat two or three times, using a bottle brush or old toothbrush around the float valve, until the rinse water comes out clear instead of gray.
Flush the hose with a bowl of clean water
Set the nozzle in a bowl of clean water and run the machine so it draws the water up through the hose the same way it draws up dirty carpet water. Hold the hose upright afterward for a few seconds so trapped water drains back into the tank.
Clear the brush roll and check the nozzle
Cut away wound hair or thread with scissors rather than pulling it loose, then rinse the roll under running water. Check the spray holes along the base for dried solution and clear them with a toothpick if the spray pattern looks uneven.
Wash the tanks with soap, or a vinegar rinse if they smell musty
Once or twice a month, wash both tanks with warm water and a little dish soap, rinsing thoroughly afterward. For a tank that still smells musty, a diluted vinegar rinse or, for a stronger case, a bleach solution of no more than 1 cup per gallon of water per CDC guidance, cuts through odor and mineral buildup.
Let every part dry fully before storing
Leave the tanks, hose, and any removed filter open to air until they're completely dry, not just damp to the touch. Storing a carpet cleaner while any part is still wet is one of the fastest ways to end up back at the same musty smell within a week.
| Quick Facts | |
|---|---|
| EPA safe drying window before mold risk rises | 24-48 hours |
| EPA ideal indoor humidity | 30-50% relative humidity |
| EPA indoor humidity ceiling | 60% relative humidity, maximum |
| CDC bleach dilution for mold on hard surfaces | no more than 1 cup bleach per gallon of water |
| CRI recommended professional carpet deep clean interval | every 12 to 18 months |
What actually happens inside a carpet cleaner between uses
A carpet cleaner sprays solution into the carpet, works it in with a brush, then vacuums the dirty mixture back into a separate recovery tank, and that tank is what starts smelling if it isn't emptied and dried.
Shopping for a specific model? See the best carpet cleaners we tested — 10 models compared on the specs that decide it.
A carpet cleaner runs on a simple loop: clean solution goes out through a spray nozzle, a rotating brush works it into the fibers, and a second motor pulls the dirty mixture back up through the hose into a separate recovery tank. That loop is also why the inside of the machine gets dirtier than most owners expect. The recovery tank isn't holding clean rinse water, it's holding whatever was ground into the carpet: soil, pet dander, old detergent residue, and the solution itself.
None of that is a flaw in the design. It's just what a wet-vacuum system does by nature, and it applies whether the model is a compact spot cleaner or a full-size upright, across the different types covered in our carpet cleaners hub. What separates a machine that still smells clean after a year from one that reeks after a month usually isn't the hardware, which is why owners who never clean a carpet cleaner see performance fade a season or two faster than those who do.
Skipping that step doesn't just risk odor. A film of detergent and soil residue left inside the tank and hose dries into a sticky coating that narrows the waterway, and that buildup is what eventually shows up as weaker suction on the next cleaning job.
How to clean a carpet cleaner tank
Empty both tanks immediately after use, rinse the recovery tank with hot water until it runs clear, then wash it with a little dish soap and a soft brush before it goes back on the machine.
Knowing how to clean a carpet cleaner tank starts with the side that holds dirty water, since that's where odor problems begin. Pop it free once the machine is unplugged, tip out whatever's left in it, and rinse the inside with hot tap water, swirling it around and pouring it out two or three times until the water runs clear rather than gray. A bottle brush or an old toothbrush reaches into the corners and around the float valve, a spot where a thin film of soil tends to collect and get missed by a quick rinse.
The clean-water tank needs less scrubbing but shouldn't be ignored either, since standing solution left inside it can leave the same buildup that clogs a hose. Rinse it out after use and let it air-dry with the cap off; sealing a damp tank shut is close to the fastest way to trap the moisture that leads to a musty smell later.
Once or twice a month, or whenever the tank looks cloudy, wash both tanks with warm water and a little dish soap, then rinse thoroughly. Hard water in some areas leaves a chalky film on tank walls over time; a mix of distilled white vinegar and warm water, left to sit a few minutes before rinsing, cuts through that buildup without the harsher chemicals some plastic seals don't tolerate well.
How to clean a carpet shampooer hose
Fill a bowl with clean water, run the machine to draw it through the hose, then lift the hose above the tank until it drains fully; do this after every use to keep dried solution from narrowing the line.
The hose is the part most people forget because it's hidden between the tank and the nozzle, but it clogs the same way a drain does: gradually, with every use adding a little more residue to the walls. The simplest habit is also the most effective one. Set the nozzle in a bowl of clean water, switch the machine on, and let it draw that water up through the hose the way it would draw up dirty carpet water. Run it until the bowl is empty, then hold the hose upright for a few seconds so any trapped water drains back into the tank rather than sitting in a low point of the tubing.
For a hose that already feels sluggish or smells sour, a mix of warm water and a splash of distilled white vinegar, a common ratio is roughly one part vinegar to two or three parts water, run through the same way clears mineral film and cuts odor better than plain water alone. Skip anything stronger; undiluted vinegar or household bleach run through a hose can degrade the rubber seals and gaskets faster than the residue it's meant to remove. Finish with a plain water rinse so no cleaning solution is left to dry inside the line before the next use.
Why does my carpet cleaner smell bad
A carpet cleaner smells bad almost always because water was left sitting in the tank, hose, or brush housing long enough for mold or bacteria to take hold, not because the machine itself is failing.
Moisture is the common thread behind nearly every complaint about a carpet cleaner smelling musty. The EPA's guidance on mold and moisture control puts the safe window at 24 to 48 hours: wet materials that don't dry within that stretch are already in mold-friendly territory, and a sealed plastic tank with no airflow is far from a fast-drying environment. The Carpet and Rug Institute's cleaning standards tie extraction equipment performance to how much moisture it leaves behind, since wetter carpet and wetter internal parts both extend the time mold has to establish itself.
A tank that's rinsed but never fully air-dried before storage is the single biggest culprit, closely followed by a hose that gets used and put straight back on the machine without a flush. Detergent residue makes the smell worse because it gives bacteria something to feed on beyond the trapped water itself. A quick way to stop asking why does my carpet cleaner smell bad is to clean a carpet cleaner the same day it's used, not the next time you need it.
If a full clean and dry-out doesn't fix it, the CDC recommends no more than 1 cup of household bleach per gallon of water, applied with the room ventilated and never combined with other cleaning products. Run that through the tank and hose, then rinse repeatedly with plain water until no bleach smell remains before using the machine again.
Cleaning the brush roll, filter, and nozzle
Pull hair and thread off the brush roll by hand or with a seam ripper, rinse or replace the filter on the schedule in the manual, and clear the nozzle slots so spray patterns stay even.
A brush roll wrapped in hair, thread, or carpet fiber is one of the most common reasons a carpet cleaner starts leaving stripes or missing spots, and it's an easy thing to overlook since the roll sits low and out of sight. Pull it free if the model allows it, and cut away wound-up hair with scissors or a seam ripper rather than tugging it loose, which can stretch the bristles. A quick rinse under running water clears the rest once the bulk of it is off.
Most machines use some kind of intake filter to keep debris out of the motor, and these fall into two camps: washable foam or mesh, which just needs a rinse and a full day to dry, and a cartridge-style filter that's meant to be replaced rather than cleaned. Running the machine with a wet filter, or none at all, sends more debris toward the motor than the filter was there to stop.
Last, check the spray nozzles along the base for dried solution blocking the holes. A toothpick or a stiff-bristle brush clears them without damaging the small openings; a nozzle that's only spraying from half its holes explains a lot of the streaky, uneven results people assume means the whole machine needs replacing.
How often should you clean a carpet cleaner
Rinse the tanks and hose after every single use, do a deeper soap-and-vinegar clean monthly, and treat a full teardown clean as part of getting the machine ready for storage between cleaning sessions.
There's no single number that covers every household, but a workable routine looks like this: rinse both tanks and flush the hose every time the machine gets used, wipe the brush roll and nozzle whenever you notice hair building up, and do a full soap-and-vinegar clean of the tanks, hose, and filter about once a month if the machine sees regular use. A household running it weekly for a shedding dog needs that monthly clean more like every two or three uses.
Exactly how a tank comes apart varies by model. Owners comparing specific lineups, like our Hoover carpet cleaners guide, will notice tank shapes and filter access points differ even within one brand's own range, so the manual that came with the machine is worth keeping around even after the steps below become second nature.
Frequency matters for more than smell. The Carpet and Rug Institute recommends a full professional deep clean of the carpet itself every 12 to 18 months, and that guidance assumes the equipment doing the cleaning has been maintained in the meantime. A carpet cleaner clogged with old residue can't deliver the extraction that standard is built around, no matter how new the carpet underneath it is.
When cleaning isn't enough
A smell that returns within a day of a full clean, weak suction that persists after the filter and hose are clear, or visible cracks in a tank are signs the unit needs repair or replacement rather than another wash.
Most odor and suction complaints trace back to something a proper clean fixes. Owners who clean a carpet cleaner faithfully every week still eventually hit a wall the hardware can't fix. If the tank, hose, and filter are clean and dry and the smell returns within a day, the mold has likely reached a seam or seal a surface rinse can't touch, which is a repair question rather than a cleaning one.
Suction is a similar story. If a check of the tank seal, float valve, filter, and hose still leaves the machine barely pulling water, the motor or belt may be the actual problem, and that's usually not worth chasing down on an older unit. Cracked tanks and split hoses are also worth retiring outright, since a compromised seal defeats the whole point of a wet-vacuum system no matter how clean the rest of the machine is.
For anyone at that point, our guide to the best carpet cleaners compares current models on tank capacity, hose length, and other practical differences, which is a more useful next step than another round of scrubbing a machine that's reached the end of its service life.
Frequently asked questions
Why does my carpet cleaner smell bad?
How often should I clean my carpet cleaner?
How do I clean a carpet cleaner tank?
Can I use vinegar in a carpet cleaner?
Why isn't my carpet cleaner picking up dirty water?
Sources & references
- Mold Course Chapter 2: Why and Where Mold Grows — U.S. Environmental Protection Agency
- Mold Clean Up Guidelines and Recommendations — Centers for Disease Control and Prevention
- Cleaning and Maintenance — The Carpet and Rug Institute