How to clean a car seat
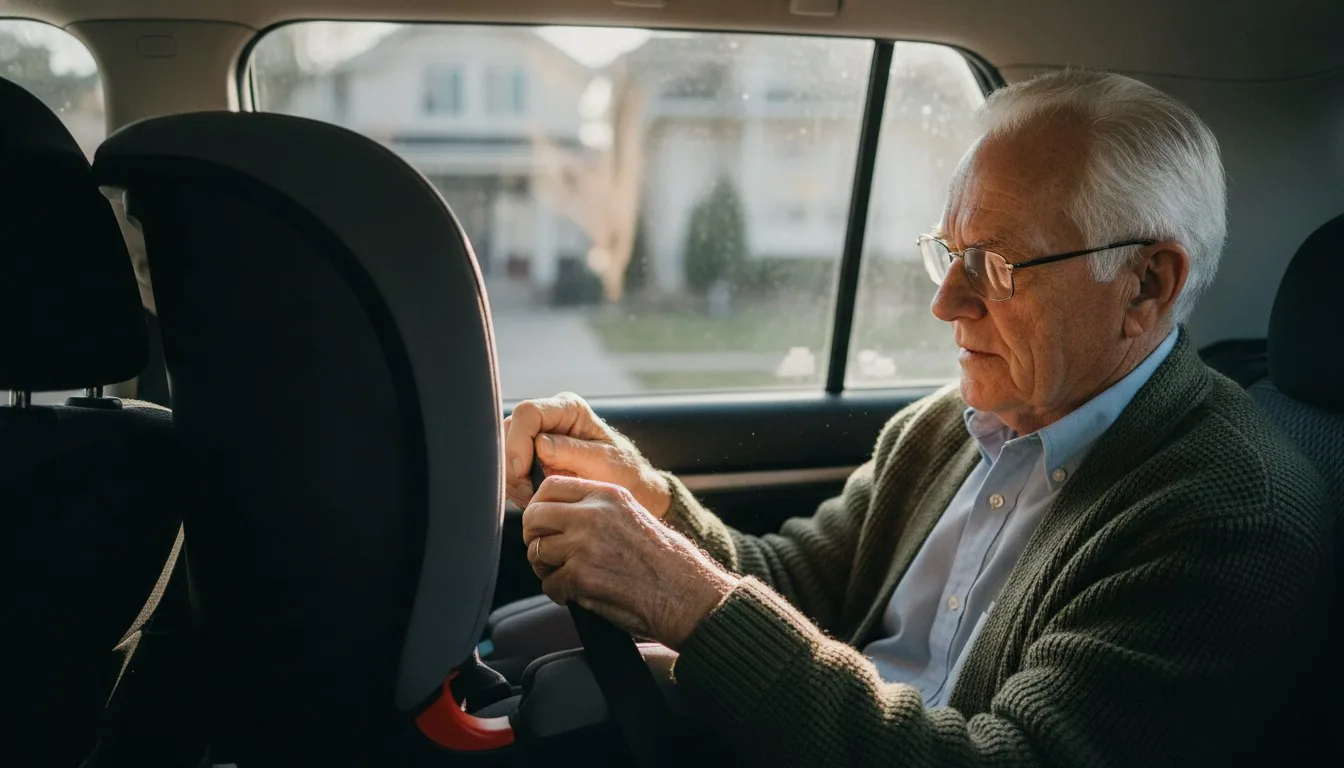
- Clean, do not disinfect. The American Academy of Pediatrics says disinfectant products may decrease the protection the seat and harness provide, so mild soap and water beats bleach or a sanitizing spray.
- The harness straps are the one part you never machine-wash or submerge. Soaking and harsh chemicals can weaken the webbing that restrains a child in a crash, so spot-clean and air-dry instead.
- The fabric cover is the only part that sometimes goes in the machine, and only if its label allows. Air-drying is the safe default, since dryer heat can shrink a cover and tire out its elastic.
- A jammed buckle gets flushed with plain warm water, never soap or lubricant inside the mechanism, because a buckle that will not latch is a safety failure and not a cosmetic one.
- Some messes are past cleaning. The AAP advises replacing a seat after a moderate or severe crash and checking the label for the manufacture date to gauge when the seat expires.
Unplug the unit before any cleaning or filter work.
Clear the crumbs and open the manual
Unbuckle the harness, tip the seat over, and vacuum out food and debris from under the cover and around the buckle before adding any water. Read the cleaning page of the manual, or look it up by the model number and date on the seat's label, since the rules differ from seat to seat.
Wash or spot-clean the cover by its label
If the tag allows machine washing, run the cover on a cold, gentle cycle; if it says spot-clean only, use mild soap, water, and a cloth. Air-dry it flat or hanging rather than in the dryer, where heat can shrink the fabric and stretch the elastic out of shape.
Wipe the harness straps by hand
Never machine-wash or submerge the webbing. Wipe the straps with a damp cloth, warm water, and a little mild soap, use a soft toothbrush on stubborn spots, and skip any disinfectant or solvent that could weaken the fibers. Let the straps air-dry fully, away from direct heat.
Flush a jammed buckle with plain water
Hold the buckle in a cup of warm water with the strap kept dry, swish it to dislodge trapped food, and repeat until it clicks cleanly. Do not put soap, oil, or lubricant inside the mechanism. If it still will not latch reliably, stop using the seat and request a replacement buckle from the manufacturer.
Wipe the chest clip and plastic shell
Clean the chest clip, headrest, and hard shell with a cloth, mild soap, and water, then dry them. Avoid abrasive scrubbers that scratch and weaken the plastic, and keep disinfecting sprays and bleach off every surface, per the AAP's clean-do-not-disinfect guidance.
Dry everything, then reassemble correctly
Let the cover, straps, and buckle dry completely before putting the seat back together. Rethread the harness exactly as the manual shows, confirm the cover is not blocking the harness slots, and check that the straps lie flat with no twists so the seat fits the way it was tested to.
| Quick Facts | |
|---|---|
| Cleaning rule (AAP) | clean but do not disinfect; disinfectant products may reduce the protection the seat and harness provide |
| Harness straps (general how-to) | never machine-wash or submerge; spot-clean with mild soap and water, then air-dry away from heat |
| Minor-crash reuse test (AAP) | all 5 conditions must be true, or the seat is replaced |
| Expiration info (AAP) | manufacture date is printed on the seat's label; rated lifespan varies by manufacturer |
| Booster-to-belt transition (CDC) | a seat belt usually fits properly around ages 9 to 12 |
| Rear-facing stage (CDC) | birth to about age 2 to 4, up to the seat's height or weight limit |
Read the manual, then clean each part on its own
There is no single way to clean a car seat, because a seat is several different materials doing different jobs, and the manufacturer's manual is what tells you what each one can take.
Shopping for a specific model? See the best car seats we tested — 10 models compared on the specs that decide it.
Every car seat ships with a manual, and the cleaning page is the one most parents never open. Pull it out first, or find it on the manufacturer's site using the model number and date printed on the seat's label. The American Academy of Pediatrics puts this plainly: always read and follow the manufacturer's instructions, since two seats that look identical can carry different rules for the cover and the webbing.
Break the seat into parts before you touch water. There is the fabric cover, sometimes with a separate newborn insert; the harness straps and chest clip; the buckle down in the crotch strap; and the hard plastic shell with its headrest. Each cleans differently, and a method that is fine for the shell can wreck the straps.
One rule covers all of it. The AAP recommends cleaning but not disinfecting, because disinfectant products may decrease the protection the seat and harness provide. Skip the sanitizing sprays and bleach wipes, however satisfying they feel on a milk spill. Mild soap and water is the workhorse here. If you have lost the manual, our car seats hub explains how the main seat types are built, which helps you figure out what you are actually looking at before anything gets wet.
How to clean a car seat cover and deep-clean the crumbs
The fabric cover is usually the only washable part, and only when its label allows; everything else is spot-cleaned, and the whole seat benefits from a dry crumb-clearing before any water touches it.
Start dry. A kid's seat is a crumb trap, so before you wash anything, unbuckle the harness, tip the seat over, and vacuum out the cracker dust and stray raisins that settle under the cover and around the buckle. This dry pass is half of any real deep clean, and it keeps you from turning loose crumbs into paste the moment water hits them.
Then read the cover's tag. Many covers unclip and go in the machine on a cold, gentle cycle; plenty of others are marked spot-clean only. Follow whichever the label states rather than guessing. Air-drying is the safer choice either way, because dryer heat can shrink a cover a size too small and wear out the elastic that keeps it snug on the shell. Lay it flat or hang it, and give it more time than you expect.
Getting the cover back on correctly matters as much as getting it clean, since a cover that blocks the harness slots or bunches under the child changes how the seat fits in a crash. Infant seats in particular have fiddly covers and newborn inserts; our infant car seat guide walks through how those carriers are put together if yours fights you on reassembly.
How to wash car seat straps without weakening the webbing
You do not really wash car seat straps so much as wipe them: the harness webbing should never be machine-washed, submerged, or hit with harsh chemicals, all of which can weaken the fibers that restrain a child in a crash.
The harness is the part people get most wrong. Those straps are load-bearing webbing, engineered and crash-tested to hold a child through a sudden stop, and their strength depends on the fibers staying intact. Machine-washing, soaking, wringing, or dousing them in solvents can stretch or degrade that webbing in ways you cannot see. The strap looks clean and normal afterward, and quietly does its job worse.
So clean them by hand and go gently. Wipe the straps with a cloth, warm water, and a little mild soap, working it into any crusted spots and then wiping it back off with a damp cloth. A soft toothbrush helps on the ridges of the chest clip. Do not saturate the webbing, and let it air-dry fully, away from a radiator, a hair dryer, or the tumble dryer.
This is where the disinfectant warning bites hardest. The AAP notes that disinfectant products may reduce the protection the seat and harness provide, and the harness is exactly the component you cannot afford to compromise. If a diaper blowout soaked the straps and plain soap and water will not lift the smell, that is a question for the manufacturer, not a reason to reach for bleach or a sanitizing spray.
Cleaning a sticky buckle and chest clip
A buckle gummed up with juice or food gets flushed with plain warm water only, never soap or oil inside the mechanism, since a buckle that will not click is a safety failure rather than a cosmetic annoyance.
Buckles jam. Juice dries into glue, a cracker crumb wedges into the latch, and the buckle either refuses to click or refuses to release. The fix is water and nothing else. Most manuals describe the same method: hold the buckle in a cup of warm water with the strap kept out of the water, then swish it around to loosen whatever is stuck, repeating until it clicks cleanly. Shake out the excess and let it air-dry.
What you must not do is lubricate it. No cooking oil, no spray lubricant, no soap left sitting inside the housing. Lubricants and detergents can foul the internal mechanism or leave a residue that makes the latch unreliable, and an unreliable buckle undoes the whole seat. If plain water will not restore a clean click, stop using that seat and contact the manufacturer for a replacement buckle rather than forcing it.
The chest clip and the hard plastic shell are the easy part. Wipe them with a cloth, mild soap, and water, then dry them off. Keep abrasive scrubbers off the plastic, since scratches can weaken it over time, and hold to the same no-disinfectant rule on every surface a child's skin touches.
When a car seat needs replacement, not a wash
Some problems are past cleaning: the AAP says to replace a seat after a moderate or severe crash and to check its label for an expiration date, and a frayed or bleached harness is a reason to retire a seat, not scrub it harder.
Cleaning has limits, and knowing them is part of the job. The AAP is blunt about crashes: do not use a seat that has been in a moderate or severe crash. A crash counts as minor, and the seat can stay in service, only when all five of these are true: the vehicle could be driven away, the door nearest the seat was undamaged, no one in the vehicle was injured, the airbags did not go off, and there is no visible damage to the seat. Miss any one and the seat gets replaced.
Age matters too. Car seats carry an expiration, and the AAP advises checking the label for the date the seat was made, then asking the manufacturer how long that model is rated to last. A seat with sun-faded, stiff, or fraying webbing has aged out no matter what the date says, and no wash brings crash-rated strength back.
If it is genuinely time for a new one, buy for the child's current stage, not the one they have outgrown. The CDC's staging is the map: rear-facing for as long as the seat allows, then forward-facing, then a booster until the seat belt fits on its own, usually between ages 9 and 12. A child moving up from an infant carrier into a convertible seat has different needs; our toddler car seat guide covers that transition, and our car seat buying guide compares current seats if you would rather replace than keep nursing an old one along.
Frequently asked questions
Can you machine wash a car seat cover?
How do you wash car seat straps?
Can I use disinfecting wipes or bleach on a car seat?
How do you deep clean a car seat after a blowout or spill?
Do I need to replace a car seat after a minor crash?
How do you clean a stuck car seat buckle?
Sources & references
- Car Seats: Information for Families — American Academy of Pediatrics (HealthyChildren.org)
- About Child Passenger Safety — Centers for Disease Control and Prevention (CDC)